articleAug 4, 2022
UniswapV2 subgraph event queries
How The Graph indexes contract events: subgraph manifests, GraphQL schemas, AssemblyScript handlers, and a local graph-node deploy for a Swapper-style Uniswap flow.
The Graph and subgraphs
The Graph is a decentralized protocol for indexing and querying blockchain data, starting with Ethereum. It helps when you need more than raw contract reads — Uniswap-style AMMs and NFT projects like Bored Ape Yacht Club are the usual examples.
Why not only call the contract?
Basic reads are easy: owner of a given Ape, token URI, total supply. Richer questions are not. Filtering tokens owned by an address by trait, joining transfers with IPFS metadata, or aggregating history means replaying Transfer events and stitching IPFS hashes yourself. Browser dapps make that slow; reorgs and irregular blocks make it worse.
Subgraphs expose indexed APIs over GraphQL so those queries stay cheap.
How a subgraph works
A subgraph is described by a manifest: which contracts to watch, which events matter, and how event data maps into stored entities. The Graph CLI publishes that manifest (often via IPFS) so indexers know what to index.
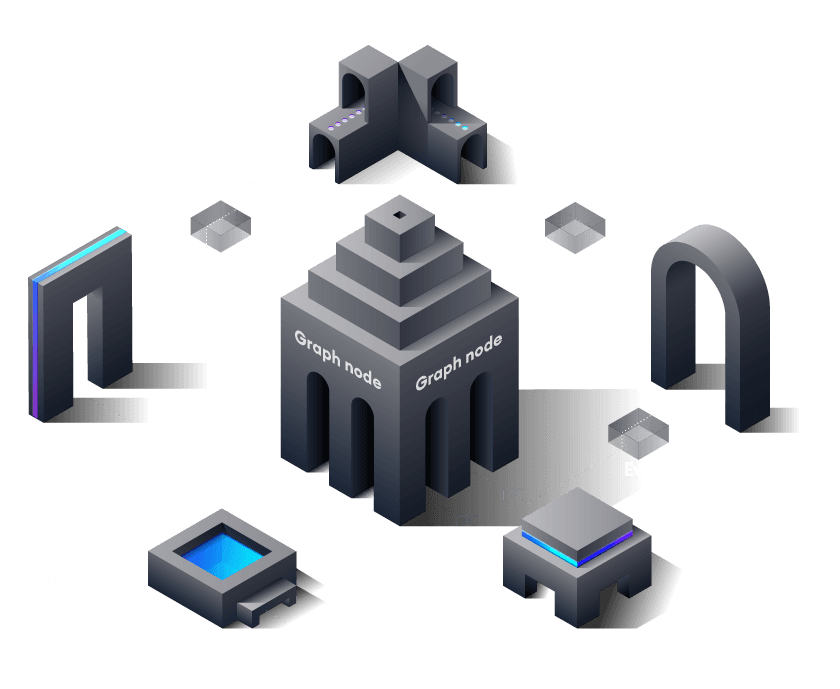
Once a subgraph manifest is deployed, data roughly flows like this:
- A dapp writes to Ethereum with a contract transaction.
- The contract emits one or more events while handling that transaction.
- Graph nodes watch new blocks for data their subgraphs care about.
- Matching events run the subgraph's mapping handlers.
- Mappings are WASM modules that create or update entities the Graph node stores.
- The dapp queries those entities over the node's GraphQL endpoint.
- The node turns GraphQL into store queries against its indexed database.
- The UI shows the result; users may send new Ethereum transactions from there.
Graph Network
The Graph Network is a decentralized indexing protocol. Apps query subgraphs with GraphQL. Roles on the network include indexers (serve data), curators, delegators, and consumers.
Participants stake GRT (an ERC-20 work token on Ethereum) to back query integrity and allocate resources. Indexers, curators, and delegators earn in proportion to work and stake.
Quick Start
- Subgraph Studio - Ethereum mainnet indexing
- Hosting Service
- Ethereum mainnet ↔ External Network (ex.. Binance, Matic..)
Subgraph Studio
Graph CLI install
npm, install -g @graphprotocol/graph-clisubgraph init
graph init --studio <SUBGRAPH_SLUG>Subgraph layout
- Manifest (
subgraph.yaml) — data sources to index - Schema (
schema.graphql) — GraphQL entities you want to query - AssemblyScript (
mapping.ts) — maps events into those entities
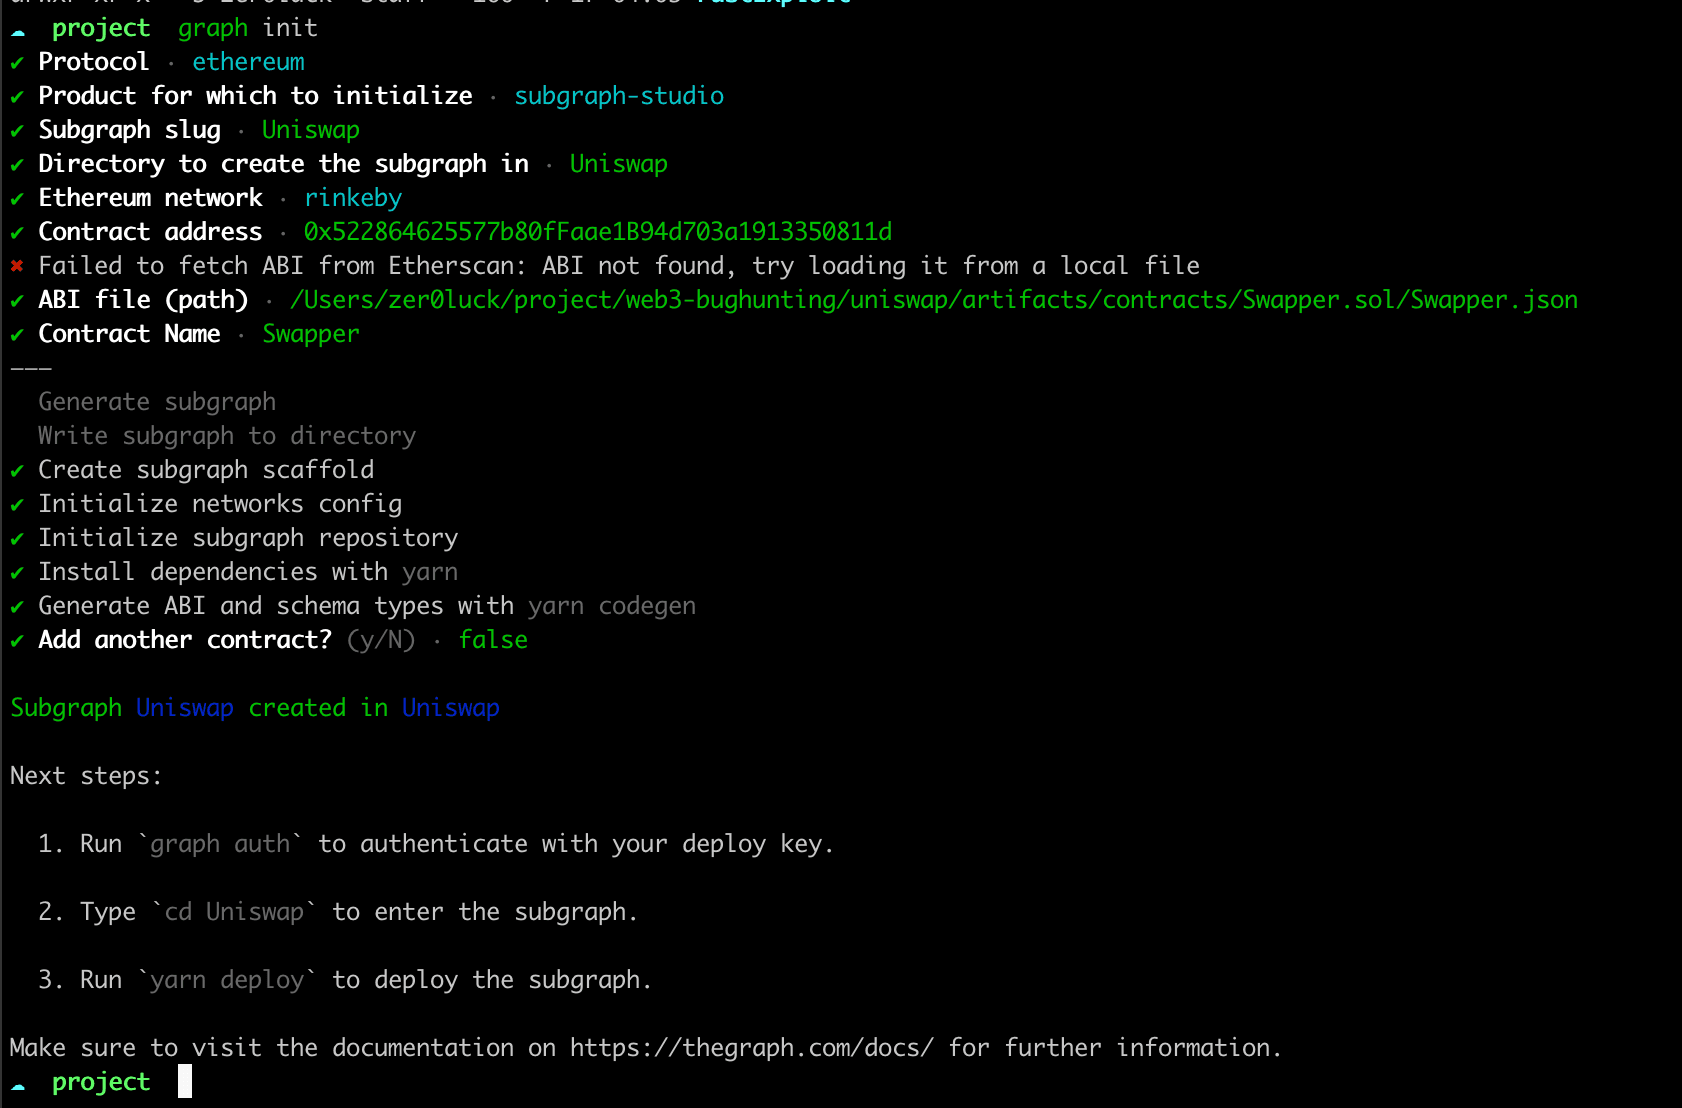
Contract Event data query matching operation
- After subgraph initialization, modify the generated
schema.graphqlfile to develop GraphQl queries for the events of the contract that will collect events.
# Swapper Contract Receive
type Receive @entity {
  id: ID!
  address: Bytes!
  balance: BigInt!

}

# Swapper Event
type StakeManagermentType @entity {
  id: ID!
  sender: Bytes!
  recipient: Bytes!
  srcToken: Bytes!
  destToken: Bytes!
  expectedAmount: BigInt!
  receivedAmount: BigInt!
  percent: BigInt!
}

# history area
enum LogType {
  SWAP
}

# Logging
type Log @entity {
  id: ID!
  logType: LogType!
  createAt: BigInt!
  tx: String!
}

# history event
type History @entity {
  id: ID!
  logs: [Log!]!
}- The following is the schema structure written to query the events that occur in the
Swapper.solcontract, and the event structure of the contract developed and deployed earlier is as follows.
event Received(address, uint256);

event Swap(
    address indexed sender,
    address indexed recipient,
    address srcToken,
    address destToken,
    uint256 expectedAmount,
    uint256 receivedAmount,
    uint256 percent
);- Because it exists on-chain, in order to generate the corresponding event, the event must be triggered by calling a method that performs the swap function.
- The
Receivedevent is triggered when an Ether exchange occurs when calling this contract externally, and it was added to collect who makes the exchange. - The
Swapevent generates a corresponding event when the swap is finally completed through themultiSwapExactInputfunction. It was added to collect data such as who used this function and which token pair was used as a swap. - If you return to the
schema.graphqlfile again, you can check that the mapping has been performed according to the corresponding event type using the GraphQL syntax. In case ofLogType, it is added for transaction logging.
GraphQL schema handling work in progress
- If the schema design is complete, you will be able to verify that each handling function is implemented by referencing the information of each function against the built contract abi and parsing the values configured from each event keyword. You can check the signature mapped to
eventHandlersin thesubgraph.yamlfile below.
- event: Received(address,uint256)
handler: handleReceived
- event: Swap(indexed address,indexed address,address,address,uint256,uint256,uint256)
handler: handleSwap- Since this file is the role of the manifest, which is the area that Graph refers to for the first time, you need to define which event handler to use before proceeding with the work.
- If it is created, you can check the created file in the src directory with the contract name specified when it was first set. This file is defined as follows. It informs the vector where the event handling is located, and development should proceed after checking it.
file: ./src/mapping.ts- The functions specified as prefix handle play the role of handling the previously designed GraphQL schema. It parses various events that occur in a transaction into an object form and provides a reference.
- The important point is to execute the
graph codegencommand to transform the redesigned schema into a code that can be understood in the graph binary. Thengenerated/schemais generated and each keyword must be used as an entity.
import { BigInt } from "@graphprotocol/graph-ts"
import { evtHistoryPush } from "./utils"
import {
  Received as EvtReceived,
  Swap as EvtSwap
} from "../generated/Swapper/Swapper"
import { Receive, Swap, Log} from "../generated/schema"

// - event: Received(address,uint256)
// handler: handleReceived
// - event: Swap(indexed address,indexed address,address,address,uint256,uint256,uint256)
// handler: handleSwap

export function handleReceived(event: EvtReceived): void {
  let entity = new Receive(
    `${event.transaction.hash.toHex()}-${event.logIndex.toString()}`
  )
  entity.address = event.params.param0
  entity.balance = event.params.param1
  entity.save()

  logReceived(entity.id, event)
}

export function logReceived(IDs: string, event: EvtReceived): void {
  let log = new Log(`${event.transaction.hash.toHex()}-${event.logIndex.toString()}`)

  log.logType = "RECEIVE"
  log.createAt = event.block.timestamp
  log.tx = event.transaction.hash.toHex()

  log.save()
  evtHistoryPush(IDs, log)
}

export function handleSwap(event: EvtSwap): void {
  let entity = new Swap(
    `${event.transaction.hash.toHex()}-${event.logIndex.toString()}`
  )
  entity.sender = event.params.sender
  entity.recipient = event.params.recipient
  entity.srcToken = event.params.srcToken
  entity.destToken = event.params.destToken
  entity.expectedAmount = event.params.expectedAmount
  entity.receivedAmount = event.params.receivedAmount
  entity.percent = event.params.percent
  entity.save()

  logSwap(entity.id, event)
}
export function logSwap(IDs: string, event: EvtSwap): void {
  let log = new Log(`${event.transaction.hash.toHex()}-${event.logIndex.toString()}`)

  log.logType = "SWAP"
  log.createAt = event.block.timestamp
  log.tx = event.transaction.hash.toHex()

  log.save()
  evtHistoryPush(IDs, log)
}- After allocating each value to the instance implemented as entity, finally complete
save. - Here, log functions attached as prefix are added as a separate logging role to extract time and hash information generated in a separate transaction.
Graph build task
- If you have completed up to this point, you should proceed with the final build to prepare for event connection.
- Proceed with the build through the
graph buildcommand.
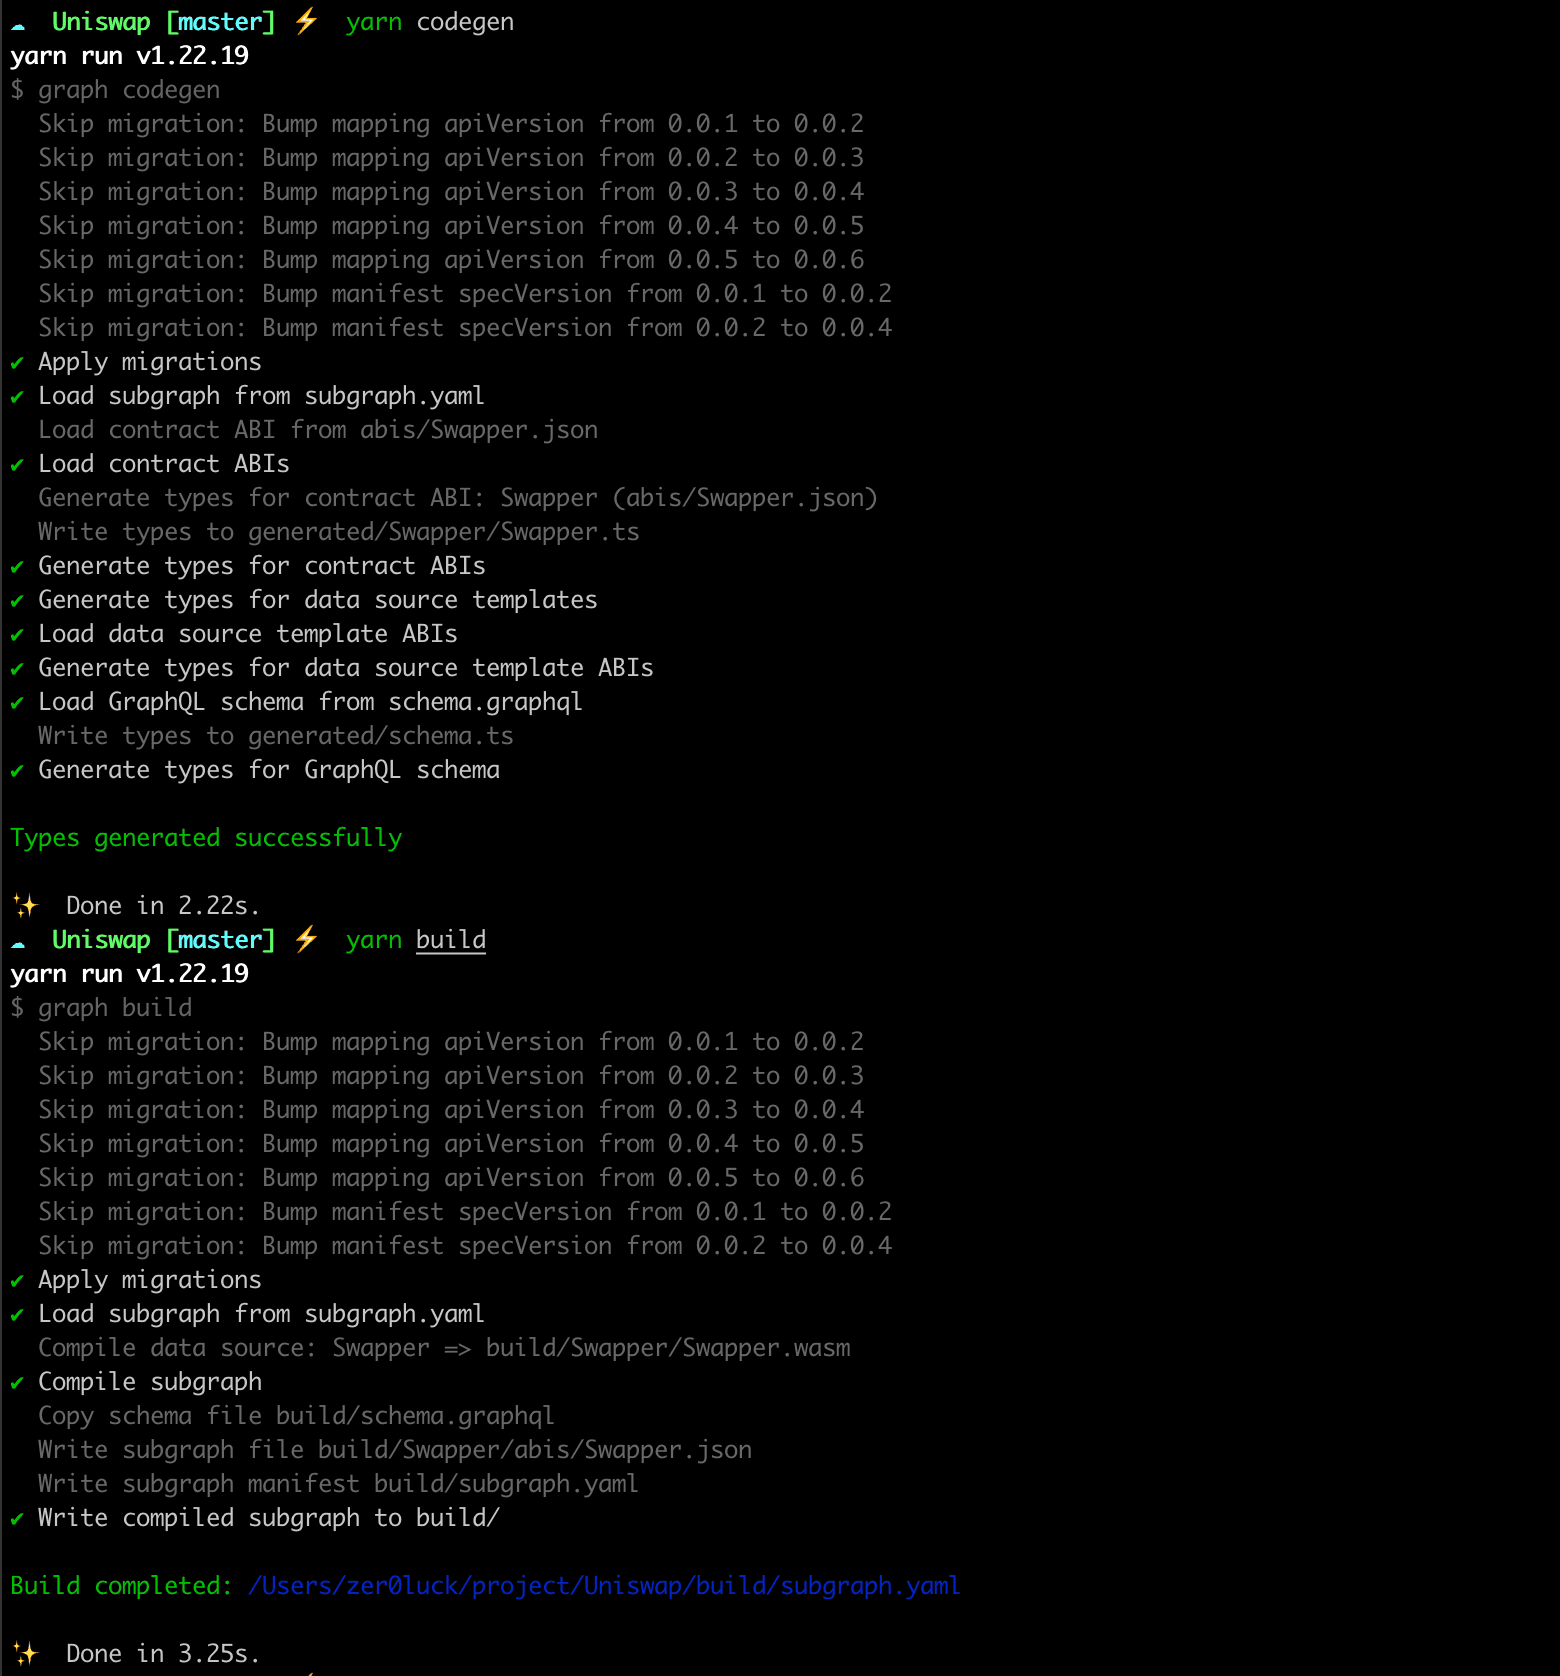
Graph-Node Setup
- After deploying Subgraph, you need to configure the following to run the node for each data management locally.
https://github.com/graphprotocol/graph-node
Graph-Node
The Graph is a protocol for building decentralized applications (dApps) quickly on Ethereum and IPFS using GraphQL.
Graph Node is an open source Rust implementation that event sources the Ethereum blockchain to deterministically update a data store that can be queried via the GraphQL endpoint.
For detailed instructions and more context, check out the Getting Started Guide.
- You can set up the relevant settings by referring to the following, but there are parts that need to be set up for each project.
version: '3'
services:
  graph-node:
    image: graphprotocol/graph-node
    ports:
      - '8000:8000'
      - '8001:8001'
      - '8020:8020'
      - '8030:8030'
      - '8040:8040'
    depends_on:
      - postgres
    extra_hosts:
      - 172.19.0.1:host-gateway
    environment:
      postgres_host: postgres
      postgres_user: graph-node
      postgres_pass: let-me-in
      postgres_db: graph-node
      ipfs: 'https://ipfs.io'
      ethereum: 'rinkeby:https://rinkeby.infura.io/v3/8c6f778de9a94b6e9ebc0481745ad286'
      GRAPH_LOG: info
      GRAPH_ALLOW_NON_DETERMINISTIC_FULLTEXT_SEARCH: 'true'
      GRAPH_ALLOW_NON_DETERMINISTIC_IPFS: 'true'
  postgres:
    image: postgres
    ports:
      - '5432:5432'
    command:
      [
        "postgres",
        "-cshared_preload_libraries=pg_stat_statements"
      ]
    environment:
      POSTGRES_USER: graph-node
      POSTGRES_PASSWORD: let-me-in
      POSTGRES_DB: graph-node
      PGDATA: "/data/postgres"
    volumes:
      - ./data/postgres:/var/lib/postgresql/data
Subgraph Studio Deploy
- After completing the build, proceed with deployment. This is the currently defined
package.json, and I use thedeploy-localcommand because I plan to run my owngraph-nodelocally to work.
{
  "name": "Uniswap",
  "license": "UNLICENSED",
  "scripts": {
    "codegen": "graph codegen",
    "build": "graph build",
    "deploy": "graph deploy --node https://api.studio.thegraph.com/deploy/ Uniswap",
    "create-local": "graph create --node http://localhost:8020/ Uniswap",
    "remove-local": "graph remove --node http://localhost:8020/ Uniswap",
    "deploy-local": "graph deploy --node http://localhost:8020/ --ipfs http://localhost:5001 Uniswap",
    "test": "graph test"
  },
  "dependencies": {
    "@graphprotocol/graph-cli": "0.33.0",
    "@graphprotocol/graph-ts": "0.27.0"
  },
  "devDependencies": { "matchstick-as": "0.5.0" }
}- When initializing is performed, the following command sequence shows the next call sequence. If you modify the code, you do not need to call
graph createand proceed in order.
> graph codegen
> graph build
> graph create --node http://localhost:8020/ Uniswap
> graph deploy --node http://localhost:8020/ --ipfs http://localhost:5001 Uniswap- When it is finally completed, it is possible to collect data by sending a sequence from the node and querying the events that occur in the transaction.
- https://thegraph.com/studio/
-
Create subgraph
-
Uniswap Contract Code
- Github RP: https://github.com/dnsdudrla97/unswap-contract
- Github Graph: https://github.com/dnsdudrla97/unswap-contract-subgraph